はじめに
Next.js + WordPress API で Jamstack を構築してみようかと思います。
便利なヘッドレスCMSはたくさんありますが、プランによってはお金がかかることが多いので。
WordPressのAPI化
まずはWordPressのAPI化です。
WordPressはデフォルトでも特定のURLを叩くことでJSON形式で値を取得することはできるかと思いますが、それだと不要なデータが多くあったりするためfunctions.phpに独自で実装しました。
以下、手順になります。
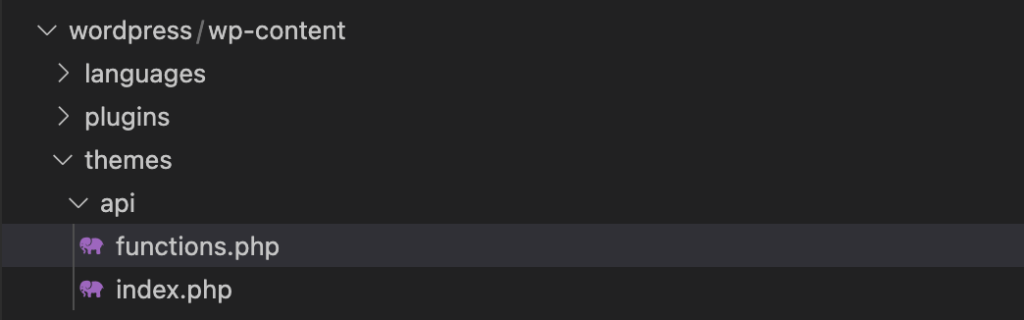
①空のテーマを作る
wp-content/themes/
上記ののディレクトリ配下にテーマ用の適当なディレクトリを作成し3つの空のファイルを格納します。
- functions.php
- index.php(今回は触らない)
- style.css(今回は触らない)
②functions.phpに記事取得の処理を書く
ファイルを格納できたらfunctions.phpに記事取得の処理を書きます。
今回は以下の記事を参考にさせていただきました。
以下はfunctions.phpのコードになります。以下のコードで投稿の一覧と、特定の投稿を取得することができます(スラッグ指定)。一応簡易的にAPI KEYによる認証もしています。
<?php

// -----------------------------------------------------------------
// API KEY
// -----------------------------------------------------------------
$API_KEY = '任意のパスワード';


// -----------------------------------------------------------------
// END POINT
// -----------------------------------------------------------------
// blog list
function add_rest_endpoint_all_posts_from_blog()
{
  register_rest_route(
    'wp/api',
    '/blog',
    array(
      'methods' => 'GET',
      'callback' => 'get_all_posts_from_blog'
    )
  );
}
function get_all_posts_from_blog()
{
  global $API_KEY;

  if ($API_KEY == $_SERVER['HTTP_API_KEY'])
  {
    $result = array();
    $args = array(
      'posts_per_page' => -1,
      'post_type' => 'post',
      'post_status' => 'publish'
    );
    $all_posts = get_posts($args);
    foreach ($all_posts as $post) {
      $data = array(
        'ID' => $post->ID,
        'thumbnail' => get_the_post_thumbnail_url($post->ID, 'full'),
        'slug' => $post->post_name,
        'date' => $post->post_date,
        'modified' => $post->post_modified,
        'title' => $post->post_title,
        'excerpt' => $post->post_excerpt,
        'content' => $post->post_content
      );
      array_push($result, $data);
    };
    return $result;
  }
  else
  {
    return array('error' => 'authentication error');
  }
}
add_action('rest_api_init', 'add_rest_endpoint_all_posts_from_blog');

// blog detail
function add_rest_endpoint_single_posts() {
  register_rest_route(
    'wp/api',
    '/blog/(?P<slug>\S+)',
    array(
      'methods' => 'GET',
      'callback' => 'get_single_posts',
      'permission_callback' => function() { return true; }
    )
  );
}
function get_single_posts($parameter) {
  global $API_KEY;

  if ($API_KEY == $_SERVER['HTTP_API_KEY'])
  {
    $result = array();
    $args_single = array(
      'posts_per_page' => 1,
      'post_type' => 'post',
      'post_status' => 'publish',
      'name' => $parameter['slug']
      // 'include' => $parameter[id]
    );
    $single_post = get_posts($args_single);
    foreach($single_post as $post) {
      $data = array(
        'ID' => $post->ID,
        'thumbnail' => get_the_post_thumbnail_url($post->ID, 'full'),
        'slug' => $post->post_name,
        'date' => $post->post_date,
        'modified' => $post->post_modified,
        'title' => $post->post_title,
        'excerpt' => $post->post_excerpt,
        'content' => $post->post_content,
        'post_author' => $post->post_author
        // 'category' => get_the_terms($post->ID, 'blog_category')[0]->name,
      );
      array_push($result, $data);
    };
    return $result;
  }
  else
  {
    return array('error' => 'authentication error');
  }
}
add_action('rest_api_init', 'add_rest_endpoint_single_posts');PHP
これでAPIの準備は完了です。
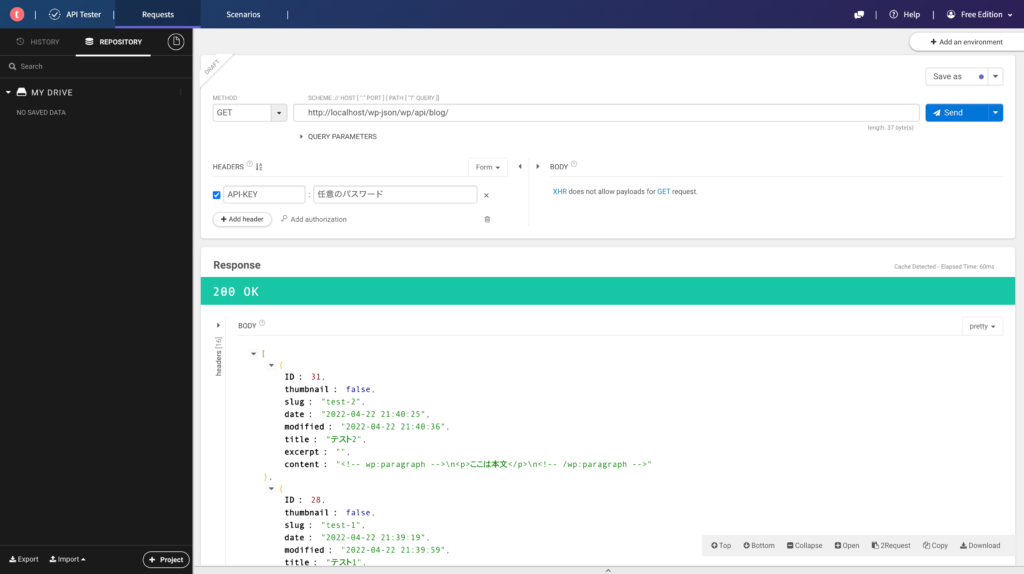
③JSONを取得できるかテストしてみる
以下のURLでそれぞれ値を取得できるはずです。
httpヘッダにAPIキーを含めるのも忘れずにお願いします。
一覧:http://localhost/wp-json/wp/api/blog/
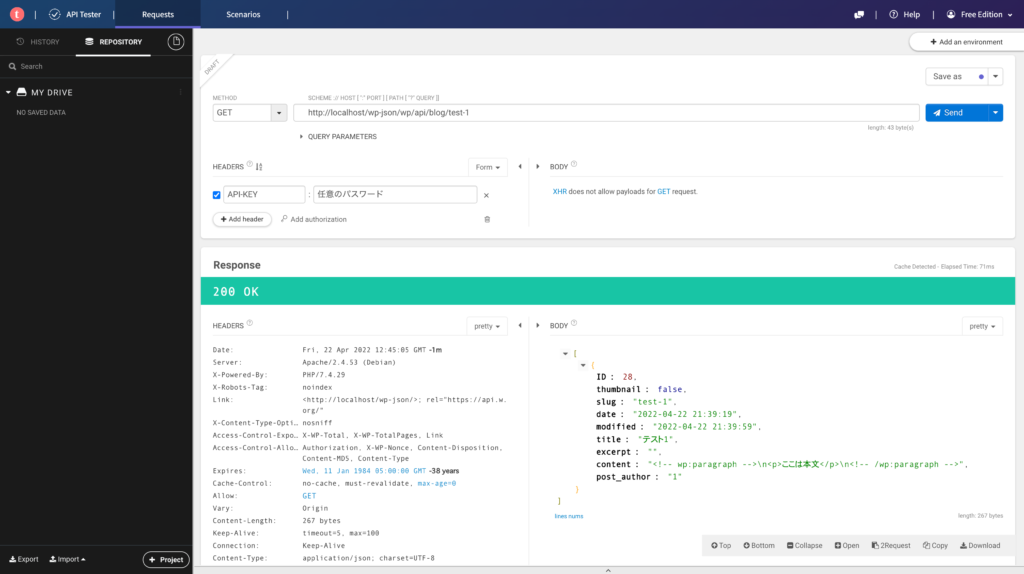
詳細:http://localhost/wp-json/wp/api/blog/{記事のスラッグ}
※localhost部分は環境によって適宜変更してください。
一覧の取得結果
詳細の取得結果
これでAPIはひとまず完成です。
Next.jsの実装
APIをコールしたい箇所で getStaticProps を利用して値を取得します。
以下は一覧の例です。
export const getStaticProps: GetStaticProps<Props> = async (context) => {
  const res = await fetch(`${process.env.END_POINT_URL}/blog`, {
    headers: {
      "API-KEY": process.env.API_KEY,
    },
  });
  const json = await res.json();
  const blogs: any[] = json;

  return {
    props: {
      blogs,
    },
  };
};JavaScript
詳細は getStaticPath で一覧取得のAPIをコールし、getStaticProps で詳細情報を取得します。
export const getStaticPaths: GetStaticPaths<PathParams> = async () => {
  const res = await fetch(`${process.env.END_POINT_URL}/blog`, {
    headers: {
      "API-KEY": process.env.API_KEY,
    },
  });
  const json = await res.json();
  const blogs: any[] = json;
  const paths = blogs.map((v) => {
    return { params: { id: `${v.slug}` } };
  });

  return {
    paths,
    fallback: false,
  };
};

export const getStaticProps: GetStaticProps<PageProps> = async (context) => {
  const { id } = context.params as PathParams;
  const res = await fetch(`${process.env.END_POINT_URL}/blog/${id}`, {
    headers: {
      "API-KEY": process.env.API_KEY,
    },
  });
  const json = await res.json();
  const blogs: any[] = json;
  const props: PageProps = {
    blogs,
  };

  return { props };
};JavaScript
これで必要なデータは取得できるかと思います。
GitHub Actionsで記事投稿をしたときに自動で反映されるようにする
現状の実装だけでは記事を投稿・編集しても本番のサーバーに反映されることはないので、GitHub Actionsを利用してNext.jsのビルドからFTPで本番のサーバーにデータを転送するようにします。
まずはGitHubにログインしてNext.jsのソースをアップロードしているリポジトリに移動します。
Actions タブに移動し New workflow ボタンを押すことで新しく workflow を作成することができます。以下のyamlを記述してください。
name: export

on:
  workflow_dispatch:
  push:
    branches: [ master ]
  pull_request:
    branches: [ master ]

jobs:
  build:
    runs-on: ubuntu-latest
    steps:
      - name: Checkout repository
        uses: actions/checkout@v2

      - name: Setup Node.js
        uses: actions/setup-node@v2
        with:
          node-version: 14.x

      - name: Install NPM packages
        run: npm ci

      - name: Build Next.js app
        run: npm run build
        env:
          URL_PREFIX: myapp

      - name: Export Next.js app
        run: npm run export

      - name: Deploy to GitHub Pages
        uses: peaceiris/actions-gh-pages@v3
        with:
          github_token: ${{ secrets.GITHUB_TOKEN }}
          publish_dir: out

      - name: Sync files
        uses: SamKirkland/FTP-Deploy-Action@4.3.0
        with:
          server: FTPサーバーのURL
          username: ユーザー名
          password: FTPのパスワード
          server-dir: アップロード先のディレクトリのパス
          local-dir: ./out/
dangerous-clean-slate: falseYAML
server、username、password、server-dirは任意の値を渡すようにしてください。直接記述するのではなく、Settings の Secrets を利用するようにしてください。
server-dirはライブラリの仕様上最後に/をつけるようにしてください。
上記のyamlではmasterブランチのソースを更新することでも自動的にビルドとFTPを用いたアップロードが行われます。
不要であれば以下の部分を削除してください。
push:
  branches: [ master ]
pull_request:
branches: [ master ]YAML
記事投稿後にGitHub Actionsを実行するようにする
まずはGitHub Actionsを外部から実行できるようにします。外部から実行するためにはPersonal access tokenが必要なので、GitHubページから作成します。
Personal access tokenの設定
GitHub個人のSettingsページから
Developer settings > Personal access tokens
に移動します。
Noteは任意のものを入力し有効期限の入力とworkflowにチェックを入れてトークンを生成します。
これで外部からGitHub Actionsを実行できるようになります。
functions.phpに追記
あとは以下のソースをfunctions.phpに追記するだけです。
記事投稿したタイミングでGitHub Actionsを実行するようにします。
URLとAuthorizationのトークンは自身のものに書き換えてください。
// -----------------------------------------------------------------
// GITHUB ACTIONS
// -----------------------------------------------------------------
function post_save_wordpress($post_id, $post)
{
  if ($post->post_status === 'publish') {
    $url= 'https://api.github.com/repos/ユーザー名/リポジトリ名/actions/workflows/export.yml/dispatches';
    $headers = [
      'Authorization: token 生成したトークン',
      'Accept: application/vnd.github.v3+json',
      'User-Agent: post_save_wordpress'
    ];
    $data = [
      // 'event_type' => 'post_save_wordpress',
      'ref' => 'master'
    ];

    $ch = curl_init();
    curl_setopt($ch, CURLOPT_URL, $url);
    curl_setopt($ch, CURLOPT_HTTPHEADER, $headers);
    curl_setopt($ch, CURLOPT_POSTFIELDS, json_encode($data));
    curl_setopt($ch, CURLOPT_HEADER, true);
    curl_setopt($ch, CURLOPT_POST, true);
    curl_setopt($ch, CURLOPT_RETURNTRANSFER, true);
    $output = curl_exec($ch);
    curl_close($ch);

    return true;
  }
  return false;
}

add_action('publish_post', 'post_save_wordpress', 10, 2);
add_action('delete_post', 'post_save_wordpress', 10, 2);
add_action('trashed_post', 'post_save_wordpress', 10, 2);PHP
こちらで一通りの実装は完了です。
終わりに
まだかなり簡易的な実装ではありますが一通り動くようになったかと思います。
こちらをベースに色々と改変を加えていければと思います。